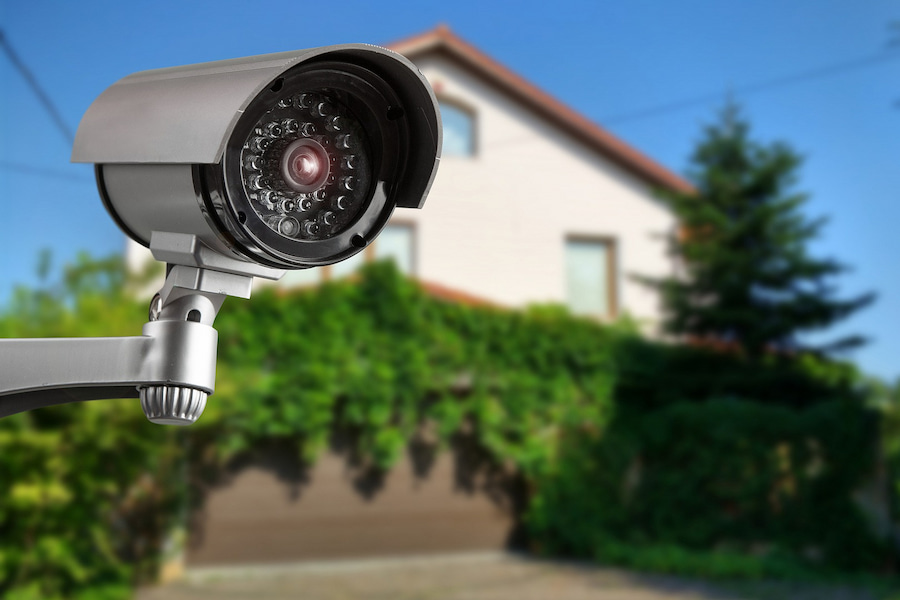
Enhancing a property’s security reaches its crest with the installation of CCTV cameras. Digging into the intricate pool of CCTV installation might initially appear difficult, but fear not. In today’s world, these vigilant guardians play a pivotal role in fortifying our security systems. Whether safeguarding a residence or a bustling office, a well-installed security camera system guarantees round-the-clock safety. Do it by yourself or Entrust the task to skilled professionals, such as CCTV installer Manchester, ensures meticulous execution.
It involves understanding the fundamental components crucial to a successful installation process. Beyond mere surveillance, it’s about fostering an environment where safety thrives seamlessly. So, embrace the prospect of heightened security and let CCTV cameras be the watchful eyes that stand guard day and night. Our comprehensive CCTV Camera Installation Guide is your trusted companion in this journey.
Gather Your Gear:
Get your tools in order, Before starting the installation process of your device, take a moment to gather all your essentials. Streamlining this process ensures a smoother and quicker installation. Your equipment should include a trusty ladder for those hard-to-reach spots, fish tape to navigate through wiry complexities, a reliable screwdriver, an assortment of screws, a power drill for efficiency, and a hammer for any additional fixtures. While your CCTV camera may come with some tools, incorporating those you’re already familiar with can enhance the overall quality of the installation process. Preparedness paves the way for a hassle-free setup.
Choose the Camera’s Location:
Selecting a suitable and appropriate camera location is a crucial step in ensuring effective surveillance. Concentrate on strategic areas of potential threats, such as the building’s front, back, and side entrances. The key objectives include minimising blind spots, steering clear of light source interference, and elevating the camera at least 10 feet above ground level. Bringing your trusty ladder into play is essential for this task. Elevating the camera not only enhances its visibility but also adds a layer of security by making it more challenging for any tampering attempts. It’s a meticulous approach to safeguarding your premises with a clear and vigilant eye.
Mark the Spot Where you’ll Attach the Bracket:
Identify the precise location for mounting by marking it thoughtfully. Once marked, drill the necessary holes and insert raw plugs before securing the bracket in place with screws. For wired cameras, it’s crucial to thread the wiring back through the wall, connecting it to the monitoring source. Ensure the drilled holes are adequately sized, allowing smooth passage for the wires. This meticulous process not only secures the camera firmly but also facilitates a seamless integration of wiring, guaranteeing a tidy and effective installation. Paying attention to these details ensures a reliable and well-connected surveillance system for your peace of mind.
Mounting the Camera:
Secure your camera in place by drilling holes into the designated spots on the wall, ceiling, or other areas you’ve chosen for mounting. Once affixed, carefully orient the camera to ensure it captures the optimal position and angle. It’s pivotal to align it for the most effective motion detection capabilities. Precision in positioning guarantees comprehensive surveillance coverage. As you mount the camera, bear in mind that its orientation plays a pivotal role in maximising its functionality. Take a moment to fine-tune its angle, ensuring a vigilant watch over the surroundings for enhanced security and peace of mind.

Arranging the cables and wires:
Navigating the intricacy of security camera wires and cables proves to be a challenging aspect of CCTV installation. Strategic planning during the preparation phase is paramount, especially when orchestrating installations across various locations be it hallways, basements, garages, attics, or under eaves. For multi-story residences, conscientiously drill holes along the most efficient route.
Carefully thread all camera cables through the drilled holes, concealing them to prevent wear and tear. This meticulous approach not only ensures a neat and organised appearance but also safeguards the longevity and efficiency of your CCTV system, making the installation process a thoughtful investment in security.
Connect The Cameras and Activate Them:
Following the meticulous wiring phase, the subsequent step involves linking your home CCTV system and verifying its successful connection to the power supply. Ensure a seamless integration by carefully connecting the cameras. Once this connection is established, conduct a thorough check to guarantee the system’s ability to receive power effectively. This pivotal stage not only marks the culmination of the installation process but also sets the foundation for a reliable and vigilant surveillance system. Take a moment to validate the connections, fostering confidence in the operational readiness of your home CCTV setup for enhanced security and peace of mind.
Also, read this: How to Transform Your Home with Smart Shades:

