
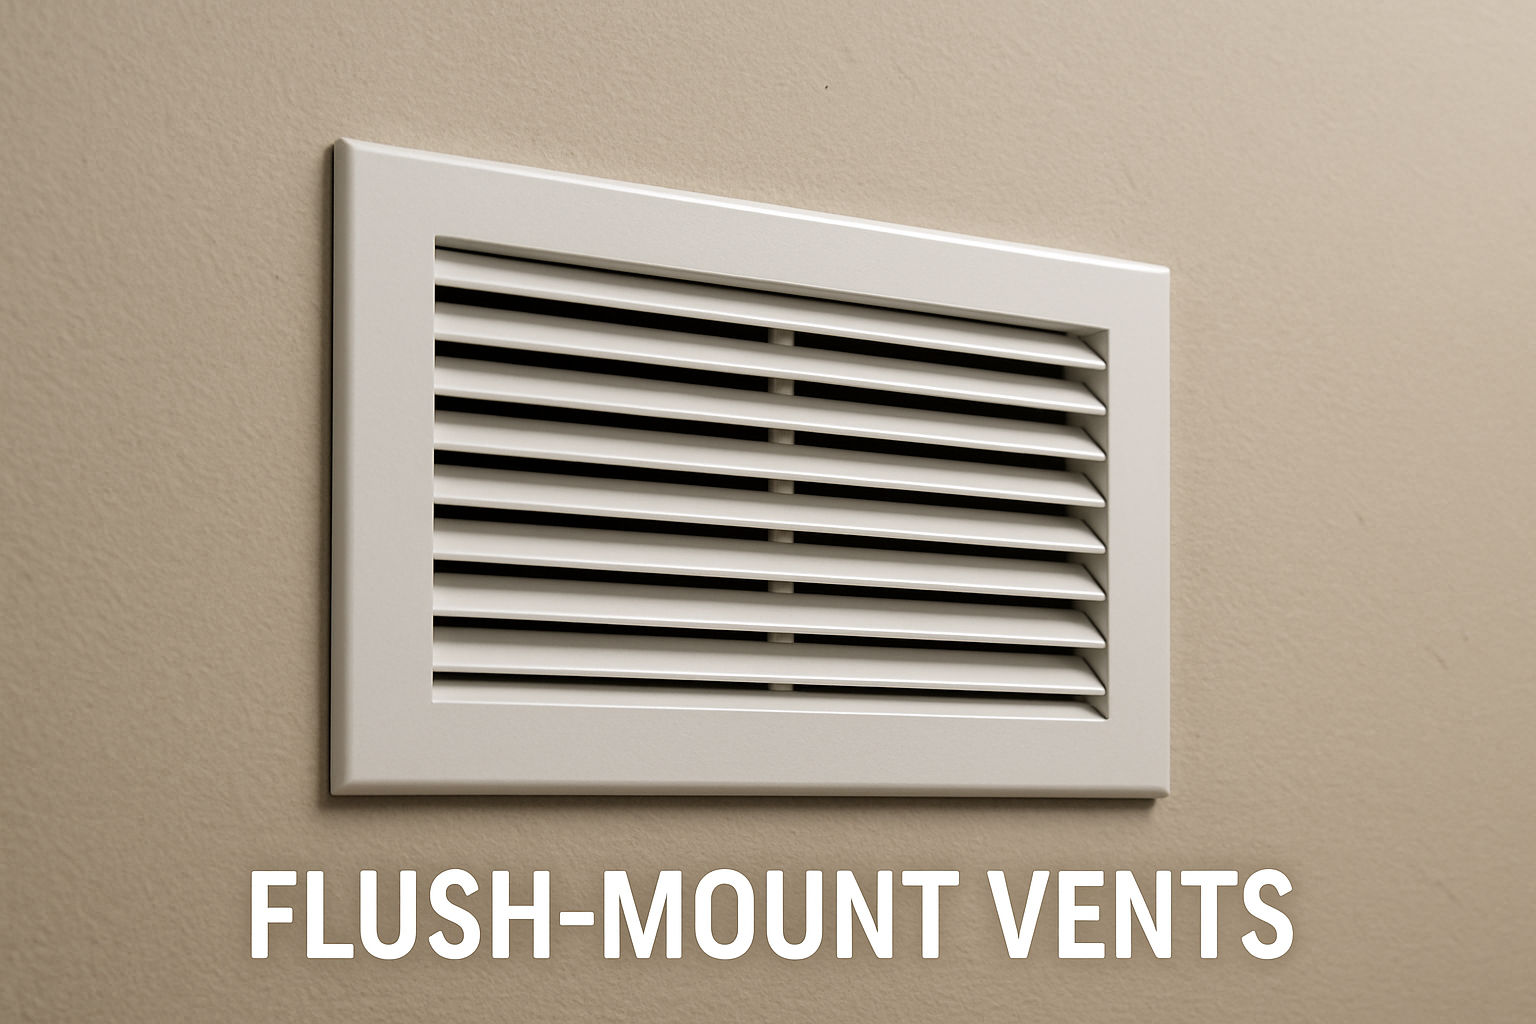
Flush-mount vents present a clean, modern replacement to the conventional drop-in vent, blending with your floor to give a finished appearance. Their increased use can be attributed to this streamlined look, as the visual disruption and tripping hazard are removed. Being installed flush with the floor, they present a continuous surface that adds to any room’s overall presentation.
To achieve this upgrade to your building, knowing the installation procedure as well as the options provided will ensure a successful installation. This guide presents practical considerations to installing flush-mount vents.
Learning About the Vents Types
When preparing to start the installation, you should select the proper type of vent for your flooring. There are flush-mount vent covers that can be made to blend with different materials to ensure a perfect match. There are wooden vents that can be used with hardwood floors because the vents can be stained to exactly the same floor color.
Elsewhere, you’ll find metal options in brushed nickel or bronze that can give a very modern look that complements the floor made of tile or concrete. There are even paint-ready vents that can be painted to exactly the style and coloring that you uniquely desire with maximum options. Getting the proper type and material is the beginning toward the high-end professional finish that you desire.
The Professional Installation Process
Installation is necessary to achieve the look as well as performance of flush-mount vents. There will be some DIYers who will try the project, but some homeowners will be contracting professionals to accomplish the installation the right way, especially when other steps are required. This is the general step-by-step method that a professional will utilize.
Preparing the Subfloor
The beginning step is the subfloor preparation. The installer will carefully take the measurements to cut a highly precise opening in order to accommodate the vent frame. This must be accomplished precisely to ensure a snug fit that reduces the air leakages as well as support. On the existing floors, this will involve cutting around a section of the finished floor to accommodate the frame.
Setting the Frame
When the vent is about to be installed, the flush-mount vent frame is installed. The frame must be installed exactly level to the surrounding subfloor. Installers will use shims with a level to achieve any leveling that needs to be done. The frame will then be screwed or glued to the subfloor to ensure a secure attachment to the vent cover, as well as the floor around it.
Integration with the Flooring
With the frame in place, the flooring material wraps around it. With hardwood flooring, boards are trimmed to be flush to the frame. With tile, the individual tiles run around to the frame edge. This step needs to be precise to produce no perceptible gap between the vent and the floor. The concept is to produce a smooth, imperceptible transition.
Locating the Vent Insert
The last procedure is installing the vent insert, or the grille, into the frame. The insert can be easily removed to facilitate cleaning as well as access to the ductwork below. The installer will ensure that it lays flat with no rattle or motion as one traverses over it. Where the vent is made of wood, the wood can be stained and finished on the job to exactly match the floor around it.
A Seamless and Stylish Upgrade
Installing flush-mount vents is a great way to upgrade the appearance of your building. Offering a streamlined, integrated look, they help to achieve a modern, streamlined interior appearance. Although installation is precise and meticulous, the end product is a functional, high-style feature that will improve the look as well as the value of your property.
Knowing the variety that is offered as well as the installation procedure will help to ensure that the project flows smoothly and the advantages of this sophisticated flooring feature can be fully realized.